Results from the neuroanatomical imaging experiment. The green denotes the Rdl GABAa receptors, and the other colors are from the neurobiotin dye injections. As you can see, the dye makes different parts of the brain show up in various shades of pink and orange, and the receptors glow green from the immunohistochemistry. Based on overlaps/no overlaps of these colors, you can tell what parts of the brain, and what neurons in the brain, have/don't have the receptors. These are images from the confocal microscope.


I don't know how to film videos through a microscope, or do a surgery one-handed while filming with the other, but I can still take pics of what I see. These are images of moments during my practice surgeries. As you can see from these images, we trap the bees in a different harness for surgeries, and we open the head to do injections, before closing them again. I was lucky this particular bee was a practice one - it died on me (you will be remembered, random bee).


In the neuroanatomical experiment, during the immunohistochemical portion, you have to take thin cross-sections of the brain, after you fix them in agarose. This is a pic of me next to the vibratome used to take the sections. I have a video of me actually collecting sections with this device - will post videos soon.

The procedure for RNA Isolation by Trizol/Chloroform Extraction and Isopropanol Precipitation.

Preparing the centrifuge during the RNA Isolation procedure.

Sometimes, during the RNA Isolation procedure, you have to briefly mix the samples with a smaller centrifuge.

A pic of my samples in the middle of the RNA Isolation procedure, next to a bottle of the Trizol reagent I use during the process. Trizol is quite dangerous - it causes severe skin burns, and it's also toxic if you inhale it, so I always take care to wear gloves and a lab coat, and to work inside the fume hood.

Before we did RTq-PCR, we had to measure the concentration of RNA in our samples using a spectrophotometer. This spectrophotometer is not like the ones from school, as all it needs is one drop. We used this technology to check for contamination in our samples.

Procedure for preparing samples for RTq-PCR:


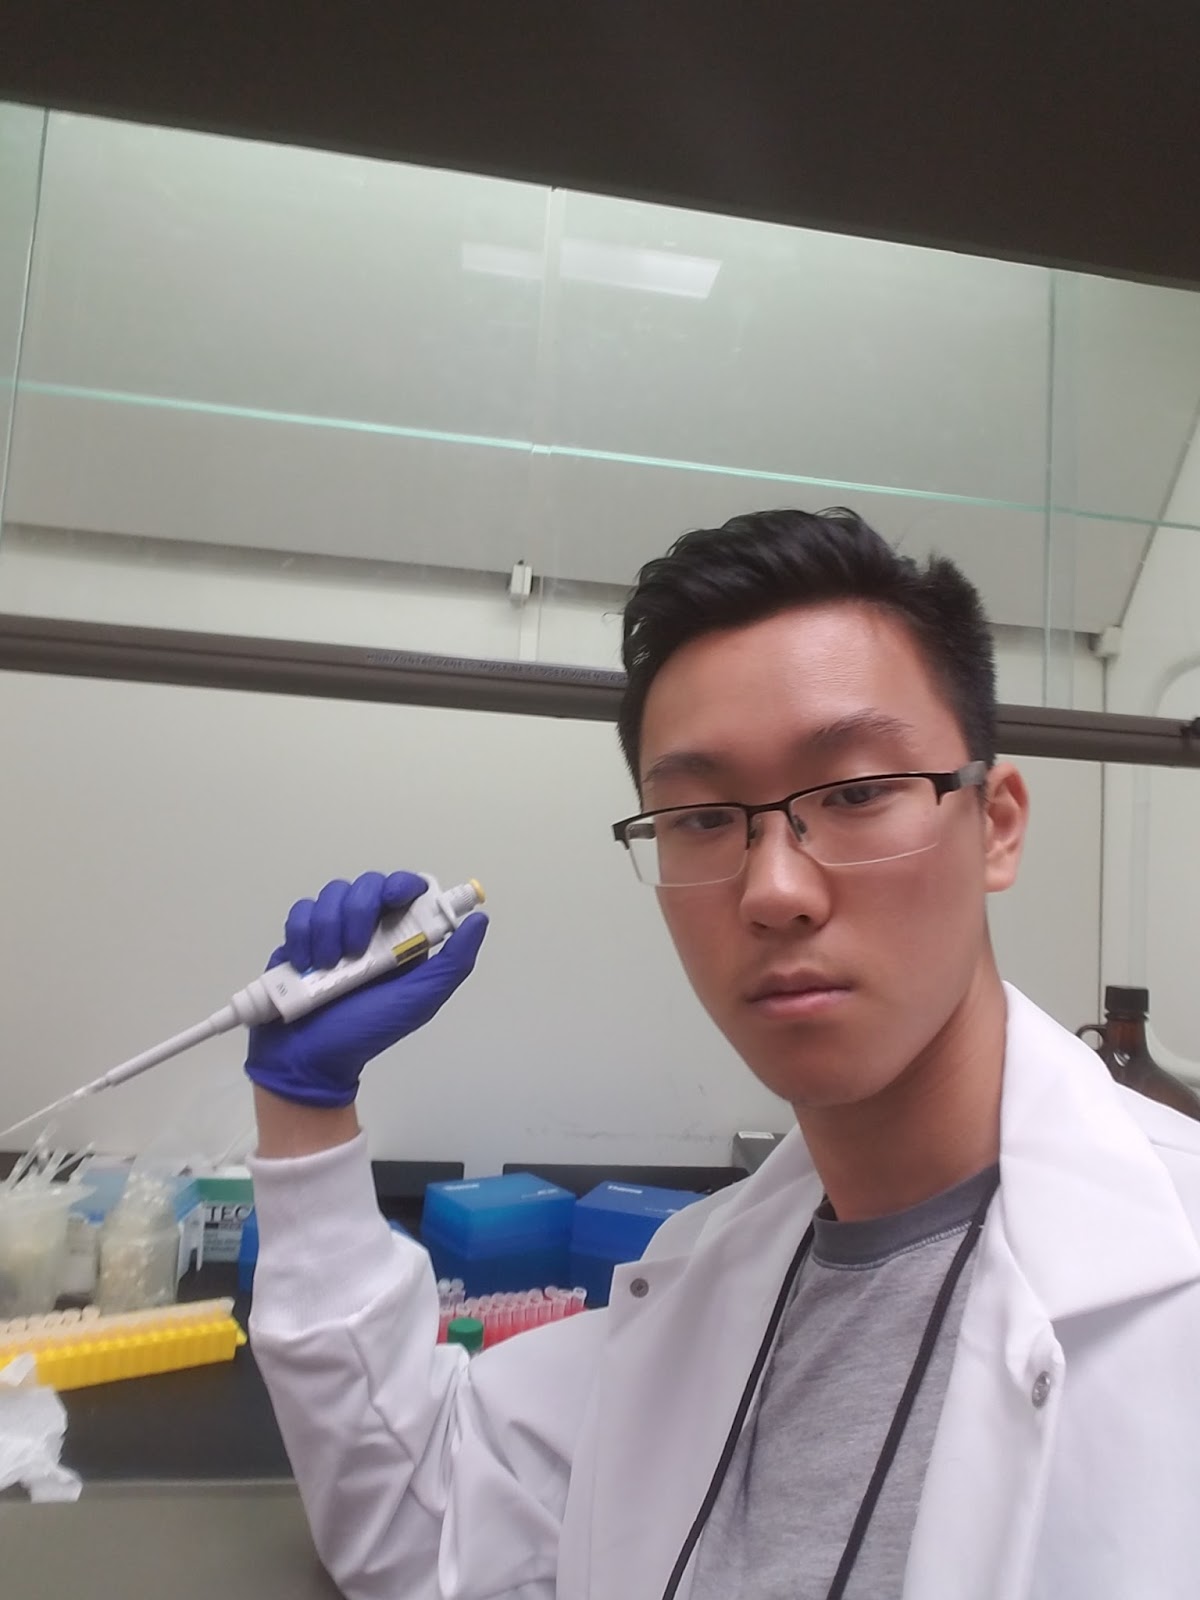
Micropipetting diligently (you can almost see the exhaustion in my face). It hurts your neck if you micropipette for a while - I always take full advantage of my lunch breaks to stretch and move around.
Listening to music while waiting for the centrifuge to do its job:

Hi Jaeyoung!
ReplyDeleteCool pics! You look very hardcore :).
To what extent do you have individual autonomy to conduct your own procedures now compared to your independence in the past?
Even before, I wasn't completely independent - even the undergrads in this lab aren't free to just work alone, mostly because of concerns such as safety. Usually, I'm either doing a procedure after Dr. Sinakevitch gives a brief overview of what we're doing, or I'm helping Dr. Sinakevitch with a procedure she's doing.
DeleteJaeyoung: the idea of conducting brain surgery on a bee is unbeelievable (sorry for the pun)! Couldn't help myself :-) Can you provide any details on the specifics of the procedure? Is it at all automated or are you doing everything manually? What tools are you using for the surgery? Have you conducted any additional surgeries and if so, how have they gone for you?
ReplyDeleteThis comment has been removed by the author.
DeleteEverything is manual. We might be doing the procedure again next week, but I wouldn't count on it, because it was part of the neuroanatomical experiment, and we already have enough results from there. I will get pics of the tools I used and explain it during the presentation.
DeleteThis comment has been removed by the author.
ReplyDelete